ExerciseResources
- How does Foam Rolling work?
How does it work?
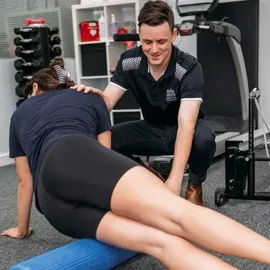
Foam Rolling is essentially using your own body weight to mimic a deep tissue massage. The mechanism by which it works is not exactly known but there are some theories surrounding muscle relaxation, increased blood flow and tissue extensibility. Literature has shown great benefits from foam rolling, even finding that it is more effective than stretching! The recommended roll on each muscle is 60 seconds.
Benefits include:
- Reduces perceived soreness
- Improved muscle activation
- Improved vertical jump height
- Improved passive and dynamic range of motion(Macdonald et al. 2014)
Benefits include:
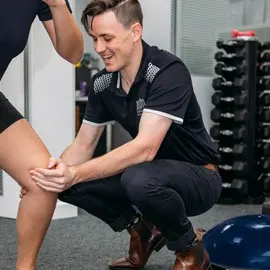
Useful for common knee conditions such as patellofemoral pain and patella tendinopathy
Gluteals / ITB
Useful for any knee, hip or lower back problem
Hamstrings
Rolling the hamstrings is beneficial for those with lower back complaints as well as knee and hip issues
Calf
Foam rolling the calf is useful for ankle injuries, Achilles tendinopathy, sever’s disease and planter fasciitis
Lower Back
Using the foam roller is a nice way to relax your lower back
Pec/Thoracic Stretch
This exercise is useful with shoulder pain, neck pain and for improving other problems associated with poor posture
- Ankle Taping
1. Start with an anchor around the base of the calf muscle- it is important that this is not too tight that it affects the mobility of the Achilles tendon and also blood flow to the foot!
2. Place two stirrups in a U Shape, going from the inside of the leg to the outside. Both starting and finishing on the anchor

3. Apply two figure 6s around the foot starting from the inside to the outside returning to the inside after crossing the front of the foot (the purpose of these are to prevent the ankle rolling out)

4. Apply one figure 6 around the foot starting from the outside to the inside and returning to the outside after crossing the front of foot
Step 5 is important for extra stability, however is non-essential if taping purely for prevention
5. Begin on the inside of the leg and move down and across to the outside of the ankle, pass the tape under the heel and cross the inside of the ankle at a 45 degree angle. The tape should then finish where you started this step. This is called a heel lock

If you want any more information about the taping of the ankle, you should check out our blog on taping and bracing and what the evidence says
- Sub Acromial Impingement
Anatomy:
The shoulder is a ball and socket joint, made of the glenoid of the scapula and the head of the humerus
The joint is held in place by the rotator cuff which is made of:
- Supraspinatus
- Infraspinatus
- Teres Minor
- Subscapularis
The rotator cuff gives dynamic stability through the large degree of rotator cuff range of motion. In other words, the rotator cuff keeps the shoulder in place whilst still allowing a large amount of movement.
Pathology:
- Impingement occurs when there is inflammation of the rotator cuff tendon(s) causing irritation in the subacromial space
- Sometimes impingement can occur when the acromion of the scapula overhangs the joint space too much, this is caused a bony impingement
- Commonly a painful arc is present (pain when lifting your arm above your head forward or sideways at around 90 degrees)
This generally occurs due to
- Repeated overhead activity
- Swimming
- Throwing
- Basketball shooting
- Previous tear
- Poor posture
Treatment can include any of the following:
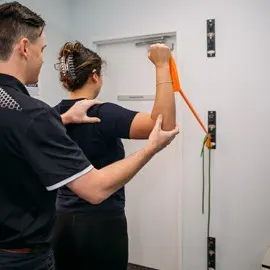
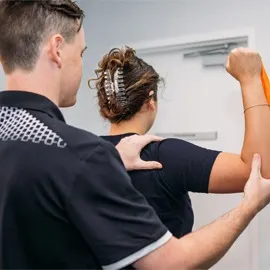
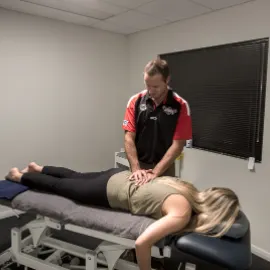
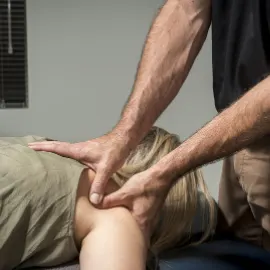
- Soft tissue release the muscles around the shoulder and upper back to improve range of motion in the shoulder and thoracic spine
- In the initial phase of your rehab, it might be recommended to you to ice your shoulder or take some Anti Inflammatories to reduce the level of inflammation within the sub acromial space
- Home stretching program- given to you by your Physiotherapist
- Your physiotherapist will guide you through a series of Scapula and Rotator cuff stabilising then strengthening exercises for you to do at home
- At end stage rehab your Physiotherapist may recommend pilates or gym based rehabilitation. This is dependent on your level of activity and what you primarily use your shoulder for.
- Lumbar Disc Inflammation
Anatomy:
- The intervertebral discs sit between each vertebrae of the spine
- The discs are made up of cartilage
- The discs primary job is shock absorption through the spine however it also does allow for a small degree of movement
- As a normal part of the ageing process, the lower back can have some degeneration, therefore we do not treat your scan on your back but rather treat the symptoms you present with. Unlike other health practitioners we do not scan every back that comes into the clinic. However for certain presentations we may recommend medical imaging
Pathology:
- Sometimes the disc becomes inflamed, this is generally due to excessive flexed positions like sitting or lifting something heavy
- Occasionally when the disc becomes inflamed it can irritate a nerve, this is called a radiculopathy.
- The prognosis for a discal injury is always favourable and rarely results in long term pain and discomfort
- When the disc is inflamed the musculature around the lower back and hips go into spasm, this is a normal response that the body does to help protect your lower back.
What to do:
Physiotherapy treatment:
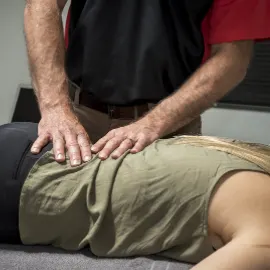
- Soft tissue release or dry needling to the hyperactive muscles around the lumbar spine
- Gentle joint mobilisations to improve mobility in the lower back
- Perhaps our best tool is to educate you
Active rest is crucial in the early hours of the management of your pain
Active rest is
- 50 minutes of lying flat on your back
- 5 minutes walking around the house
- 5 minutes stretching as prescribed by your Physio
- Ice your lower back to reduce the inflammation
- Repeat!
It is crucial to avoid sitting as much as possible. Lie or Stand up!
Listen to the exercise progression from your Physiotherapist, we are experts in the rehabilitation from discal irritations.
- Acute Ankle Sprains
Anatomy:
The ankle joint is made up of 3 bones, the talus in the foot and the tibia and fibula in the leg
The joint in brief is held together by the following ligaments
- Anterior Talofibular ligament
- Calcaneofibular ligament
- Deltoid ligament (made of 3 smaller ligaments)
- The inside ligaments of the ankle are much stronger than the outside ligaments, therefore the majority of sprains are the outside (lateral) ligaments
Pathology:
- The most common cause of an ankle sprain is landing awkwardly, whether that while running or jumping and rolling it
- We have certain rules which we follow which determine whether or not an ankle should be X-rayed
- The muscles around the ankle will go into spasm in order to protect the ankle joint while it undergoes its recovery, this is important early (due to its protective nature) but can become problematic later without physiotherapy input
What to do:
- ICE
- Normal principles of soft tissue injury management should be followed
- Rest, Ice, Compression and Elevation
- It is important to put as much weight through the ankle as tolerated as this increases early healing- unless of course your Physiotherapist thinks it is fractured.
Physiotherapy management
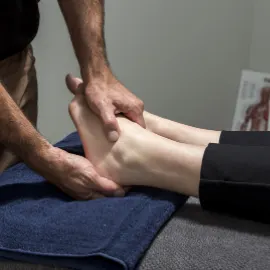
- Our initial goal is to reduce pain and inflammation, in this Phase your Physiotherapist may do some taping or gentle soft tissue release around the ankle to reduce swelling as well as providing you with advice for home management.
- Once settling, your Physiotherapist will do some soft tissue release to the muscles that cross the ankle as well as mobilizing the joint, this will increase ankle mobility and therefore function
- Once full mobility is restored the next goal is to strengthen the Ankle. Your Physiotherapist will guide you through a rehabilitation program focusing on improving Strength, Balance and Coordination around the ankle
- Once you are back at sport, keep doing the exercises as it is great for reducing your chance of future sprains
- Osgood Schlatter Disease
Anatomy:
Osgood Schlatter disease is a pain that occurs below the knee joint at the attachment of the patella tendon. The bony attachment specifically is the tibial tuberosity. The scientific word for this is an apophysitis, indicating an inflammation at the attachment point.
The Quadriceps group is responsible for extending (straightening the knee), these muscles start at the hip/thigh and come down and cross the knee.
Pain is generally experienced on squatting, running, bending the knee all the way up and applying a forceful extension. Commonly the tibial tuberosity is very tender to touch.
Pathology:
Osgood Schlatter generally occurs during periods of rapid growth which is made worse by excessive running or jumping loads. Essentially it is an inflammation due to pulling of the tendon on the bone. This occurs due to a tight short quad muscle and a rapidly growing thigh bone. It is uncommon for fully grown adults to have this condition.
Generally Osgood Schlatters is a pin point pain presentation with an obvious swelling local to the tibial tuberosity.
Osgood Schlatters occasionally gets better with rest however good evidence suggests it improves really well with expert Physiotherapy intervention
Treatment can include any of the following:
- Soft tissue release the quadriceps and iliotibial band, either in the form of massage or dry needling to improve mobility to the muscle group
- Ice to the painful area to reduce inflammation
- Home mobility program, focusing on utilizing the foam roller as sometimes stretching can irritate the knee
- Your physiotherapist will modify your load as needed to ensure that the appropriate rest is given to the knee
- As the inflammation settles, a strengthening program to the hip and knee will be prescribed to ensure that there is no flare up or repeat injury
- At end stage rehab your physiotherapist may recommend Pilates or gym based rehabilitation. This is dependent on your level of activity and what you primarily use your knee for.
Ask a Physio
Not sure whether you are appropriate for Physiotherapy?
Fill out the form and one of our physiotherapists will be in touch with you within 24 hours.


